Calendar Steps for Android Notifications: Difference between revisions
Jump to navigation
Jump to search
No edit summary |
No edit summary |
||
| Line 1: | Line 1: | ||
{| class="wikitable" | {| class="wikitable" | ||
|- | |- | ||
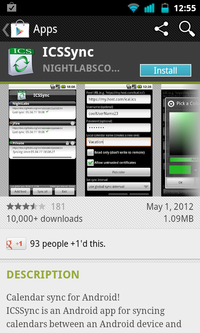
| Open the Google Play store and search for the app "ics sync" || [[File:android-stock-nonsamsung-step2.png|200px]] | | Open the Google Play store and search for the app "ics sync" || [[File:android-stock-nonsamsung-step2.png|200px]] | ||
| Line 8: | Line 6: | ||
|- | |- | ||
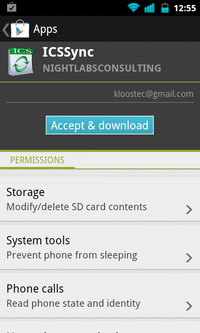
| Tap the "Accept & Download" button || [[File:android-stock-nonsamsung-step4.png|200px]] | | Tap the "Accept & Download" button || [[File:android-stock-nonsamsung-step4.png|200px]] | ||
|- | |||
| Open the email you sent to yourself with the SDS calendar link. Tap and hold on the link, then choose "Copy link to clipboard" || [[File:android-stock-nonsamsung-step1.png|200px]] | |||
|- | |- | ||
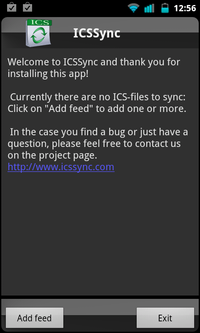
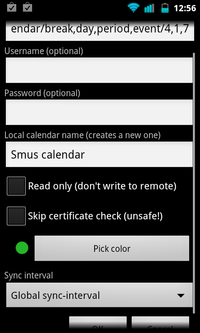
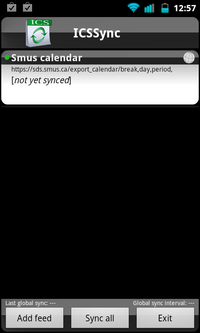
| After the app finishes installing, run the "ICSSync" app. Tap the "Add feed" button at the bottom of the screen. || [[File:android-stock-nonsamsung-step5.png|200px]] | | After the app finishes installing, run the "ICSSync" app. Tap the "Add feed" button at the bottom of the screen. || [[File:android-stock-nonsamsung-step5.png|200px]] | ||
| Line 15: | Line 15: | ||
| Back in the main panel of the ICSSync application, tap the "Sync all" button || [[File:android-stock-nonsamsung-step7.png|200px]] | | Back in the main panel of the ICSSync application, tap the "Sync all" button || [[File:android-stock-nonsamsung-step7.png|200px]] | ||
|- | |- | ||
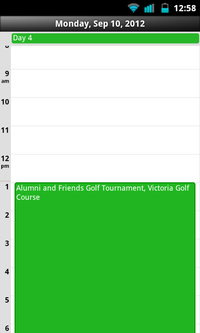
| Run the standard calendar app and you should now see your calendar events or timetable. Repeat | | Run the standard calendar app and you should now see your calendar events or timetable. Repeat the steps starting with "Open the email" to add additional calendars. || [[File:android-stock-nonsamsung-step8.png|200px]] | ||
|} | |} | ||

