Calendar Steps for iOS: Difference between revisions
Jump to navigation
Jump to search
(Created page with "* Get the URLs using the SDS Setup * Add the URLs as synchronize accounts") |
No edit summary |
||
| (One intermediate revision by the same user not shown) | |||
| Line 1: | Line 1: | ||
{| class="wikitable" | |||
|- | |||
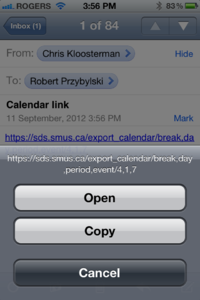
| Open up the email you sent to yourself, then tap and hold on the link. Choose copy in the window that pops up. || [[File:ios-calendar-step1.png|200px]] | |||
|- | |||
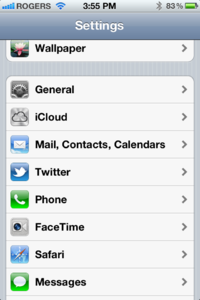
| Open up the settings app and choose "Mail, Contacts, Calendars" || [[File:ios-calendar-step2.png|200px]] | |||
|- | |||
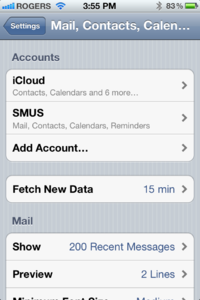
| Choose "Add Account..." || [[File:ios-calendar-step3.png|200px]] | |||
|- | |||
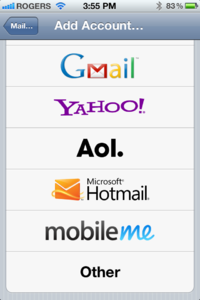
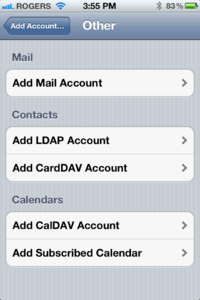
| Scroll down to the bottom and choose "Other" || [[File:ios-calendar-step4.png|200px]] | |||
|- | |||
| Tap "Add Subscribed Calendar" under "Calendars" || [[File:ios-calendar-step5.png|200px]] | |||
|- | |||
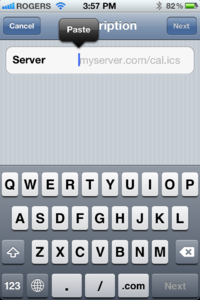
| Tap and hold in the server box, then choose "Paste" from the small popup, then tap "Next" || [[File:ios-calendar-step6.png|200px]] | |||
|- | |||
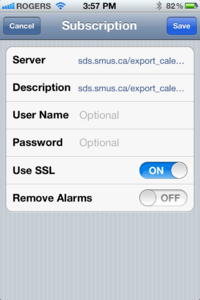
| Change the description of the calendar if desired, then tap the "Save" button. '''Ensure you do not change the "Server" field.''' || [[File:ios-calendar-step7.png|200px]] | |||
|- | |||
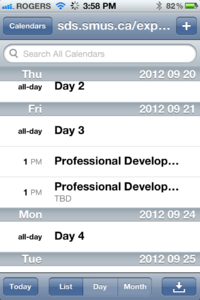
| Run the Calendar app and you should now see your calendar items || [[File:ios-calendar-step8.png|200px]] | |||
|} | |||
