SMUS Microsoft Teams - Regular Use: Difference between revisions
Jump to navigation
Jump to search
No edit summary |
No edit summary |
||
| (2 intermediate revisions by the same user not shown) | |||
| Line 12: | Line 12: | ||
{| class="wikitable" | {| class="wikitable" | ||
|- | |- | ||
| | | Open the website https://email.smus.ca and click into your OneDrive. || [[File:microsoft_teams_-_use_-_conversations_1.PNG|300px]] | ||
|- | |- | ||
| Your Team owner may have created multiple channels for your Team, so you may need to select a different channel option. || [[File:microsoft_teams_-_admin_-_create_channel_2.PNG|300px]] | | Your Team owner may have created multiple channels for your Team, so you may need to select a different channel option. || [[File:microsoft_teams_-_admin_-_create_channel_2.PNG|300px]] | ||
| Line 20: | Line 20: | ||
== Files == | == Files == | ||
{| class="wikitable" | |||
|- | |||
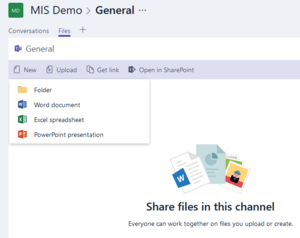
| Under the files tab, you can create folders and files just like you would in your regular Onedrive. You can also use the upload button to upload files from your computer. Any files created or uploaded this way are automatically available to all of your team members without needing to share them. || [[File:microsoft_teams_-_use_-_create_files_1.PNG|300px]] | |||
|- | |||
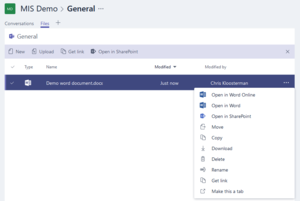
| Once files are available, you can click on them to view them, or click the "..." and open in the relevant Office application (online or full desktop app) || [[File:microsoft_teams_-_use_-_edit_files_1.PNG|300px]] | |||
|} | |||
== Wiki == | == Wiki == | ||
If your Team owner has created a wiki tab, you can use it to keep track of easily sectioned text that needs to be edited by multiple people. | |||
{| class="wikitable" | |||
|- | |||
| Click the menu icon and choose the topic you want to view/edit || [[File:microsoft_teams_-_use_-_wiki_1.PNG|300px]] | |||
|- | |||
| Enter text, headings, and new sections as appropriate || [[File:microsoft_teams_-_use_-_wiki_2.PNG|300px]] | |||
|} | |||
== Planner == | == Planner == | ||
If your Team owner has created a planner tab, you can use it to keep track of project todo lists and tasks. | |||
{| class="wikitable" | |||
|- | |||
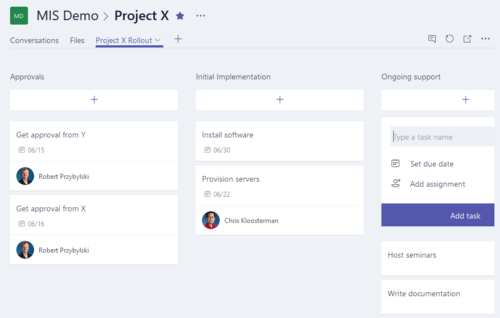
| Click the "+" sign under a bucket to create a new task. Enter the name, and optionally a due date and an assignee if that information is known. || [[File:microsoft_teams_-_use_-_planner_1.PNG|500px]] | |||
|- | |||
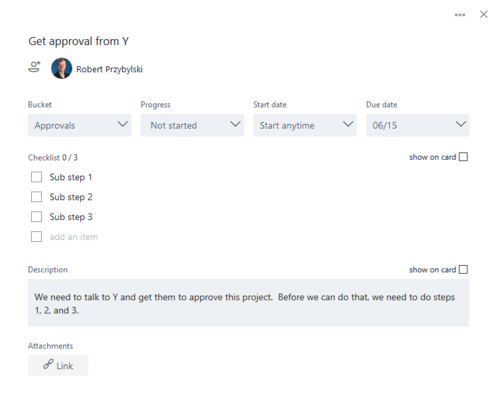
| You can click on a task to view additional details, like progress, start date, a checklist of subtasks, and description. || [[File:microsoft_teams_-_use_-_planner_3.PNG|500px]] | |||
|- | |||
| If a task has been completed, you can easily check it off the list || [[File:microsoft_teams_-_use_-_planner_2.PNG|500px]] | |||
|} | |||
Latest revision as of 15:45, 2 June 2017
Log in
| Open the website https://teams.microsoft.com and enter your email address | 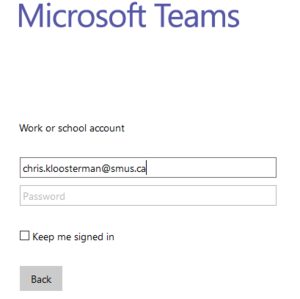
|
| Once redirected to the SMUS login page, enter your password and log in | 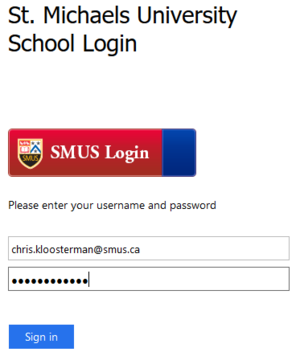
|
Conversations
| Open the website https://email.smus.ca and click into your OneDrive. | 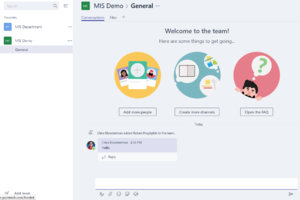
|
| Your Team owner may have created multiple channels for your Team, so you may need to select a different channel option. | 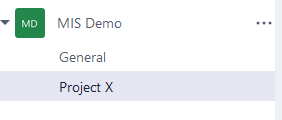
|
| Under the conversations tab, you can then write messages for other team members to see. | 
|
Files
Wiki
If your Team owner has created a wiki tab, you can use it to keep track of easily sectioned text that needs to be edited by multiple people.
| Click the menu icon and choose the topic you want to view/edit | 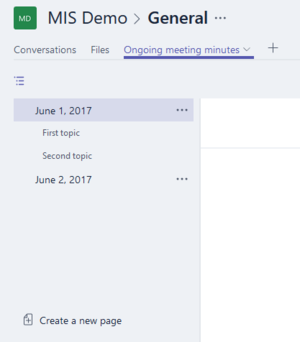
|
| Enter text, headings, and new sections as appropriate | 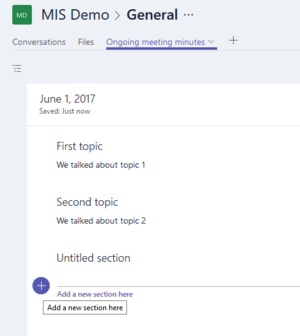
|
Planner
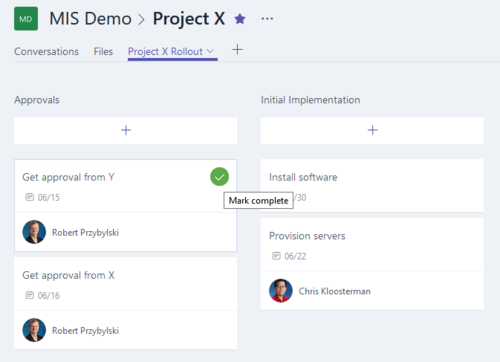
If your Team owner has created a planner tab, you can use it to keep track of project todo lists and tasks.
